

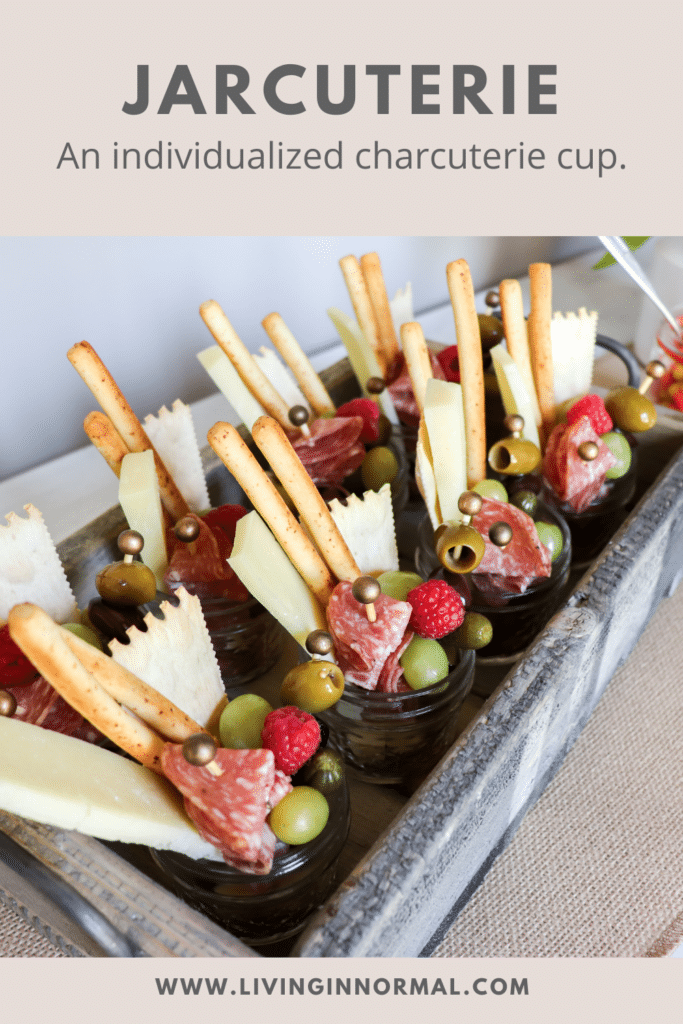
These individual charcuterie cups are a fun twist on the traditional charcuterie board and are filled with meat, cheese, fruit, and so much more. Also called a jarcuterie, they’re an easy way to serve everyone their own individual assortment of charcuterie favorites.
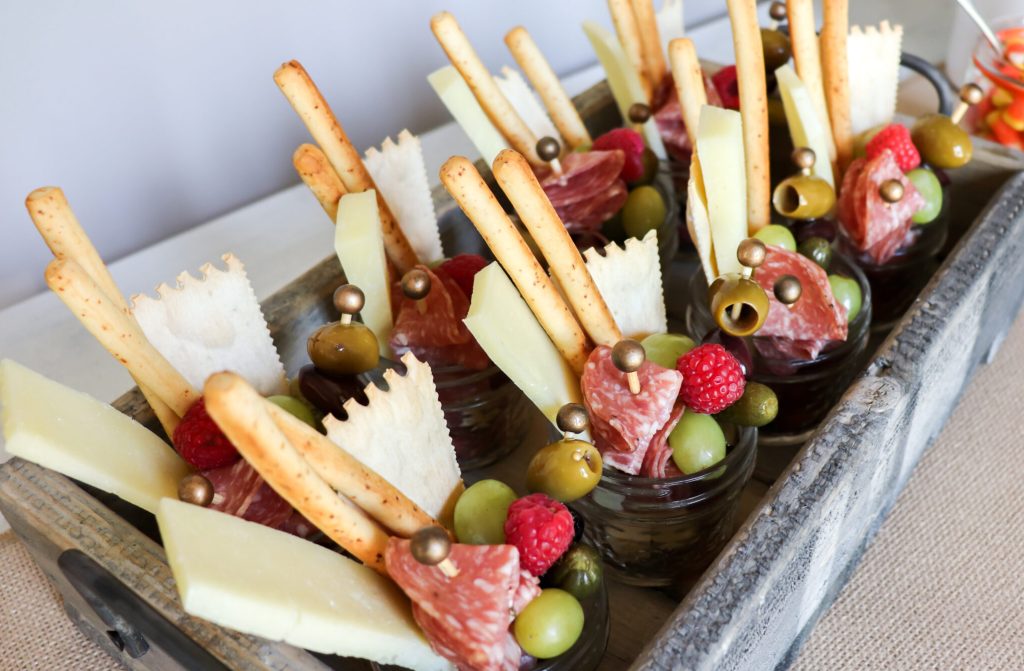
I love the look of a beautifully arranged charcuterie board, but I don’t necessarily want to graze off the same board as everyone else. That’s what makes these individual cups such a fun idea for entertaining. Everyone gets their own little charcuterie assortment, and they look just as pretty displayed for a party.
This post contains some affiliate links. If you make a purchase after clicking a link, sometimes I earn a small commission. However, there is no additional cost to you. Please read the disclosure policy for more information.
What is a jarcuterie?
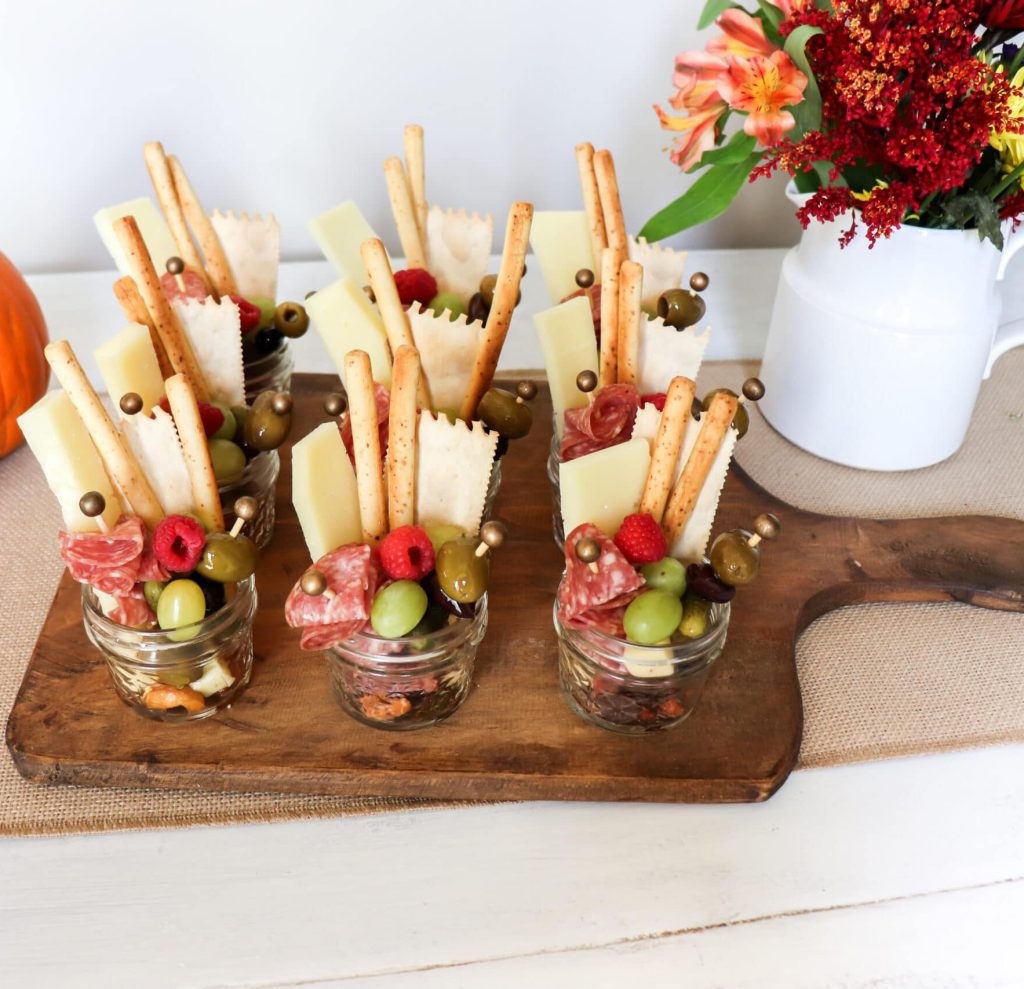
A jarcuterie is an individual charcuterie cup served in a small jar instead of arranging everything on one large board. Each jar is filled with a variety of bite-sized charcuterie favorites, such as meats, cheeses, fruit, crackers, nuts, olives, and even a little chocolate.
Jarcuterie is especially fun for parties and get-togethers because each guest gets their own serving. The jars are easy to pick up and carry around while mingling, and you can customize the ingredients to fit the occasion or your guests’ preferences.
How to Make Individual Charcuterie Cups
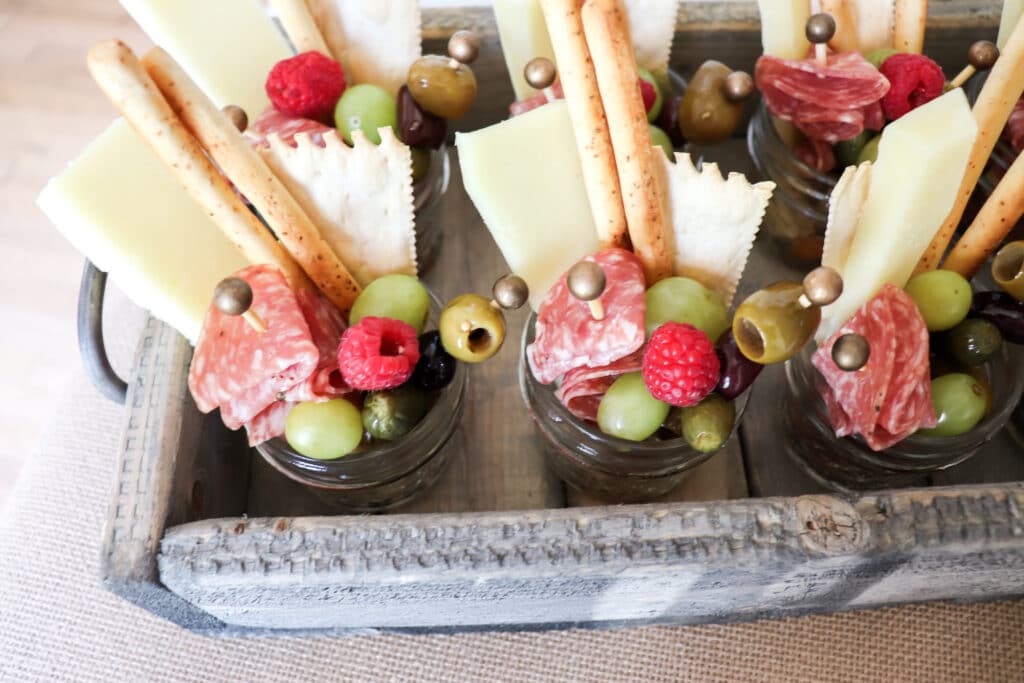
Making individual charcuterie cups is all about layering the ingredients so everything is easy to grab while creating a pretty presentation. Here’s how I assembled mine:
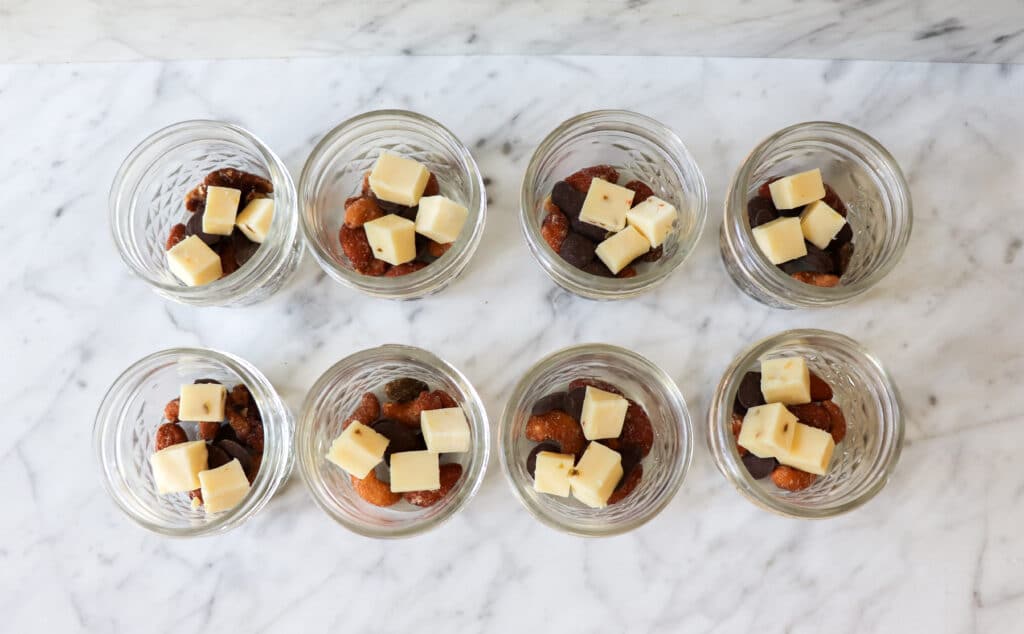
Start with the bottom layer. I added nuts and chocolate to the very bottom of each jar, followed by bite-sized pieces of cheese.
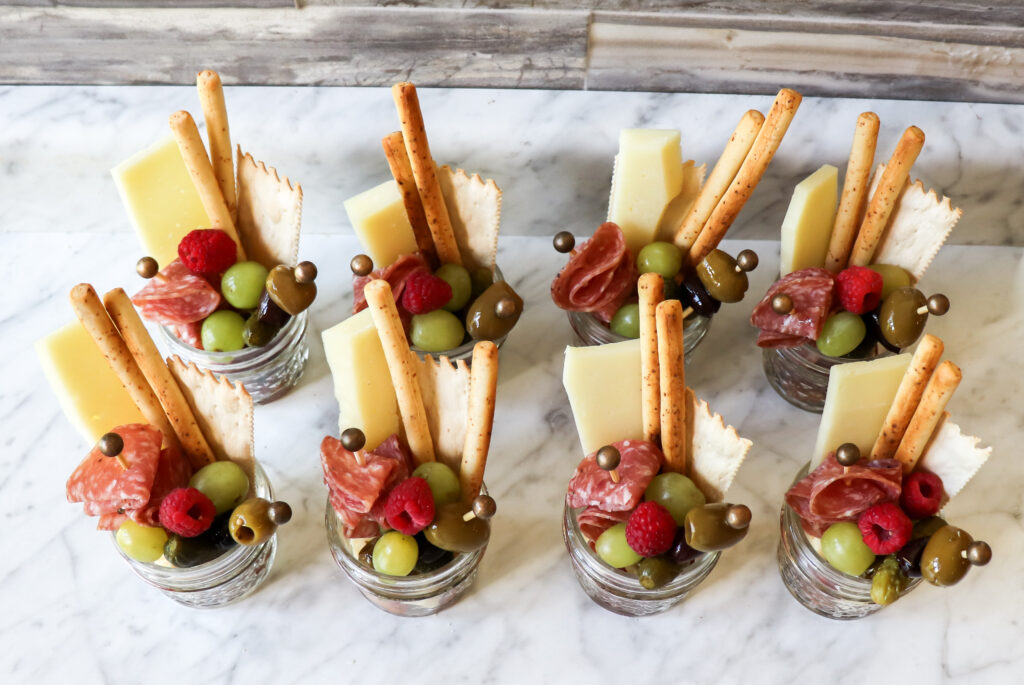
Add the skewers. I threaded fresh salami and olives onto decorative picks and tucked them into the jars. The picks make smaller ingredients easy to grab and add some height to the cups.
Add the taller ingredients. I layered cheese slices and breadsticks toward the back of each jar to give the charcuterie cups height and create a fuller presentation.
Finish with fresh fruit. Lastly, I topped each jar with grapes and raspberries. Blueberries, strawberries, or even dried fruit would also work well.
What to Put in Charcuterie Cups
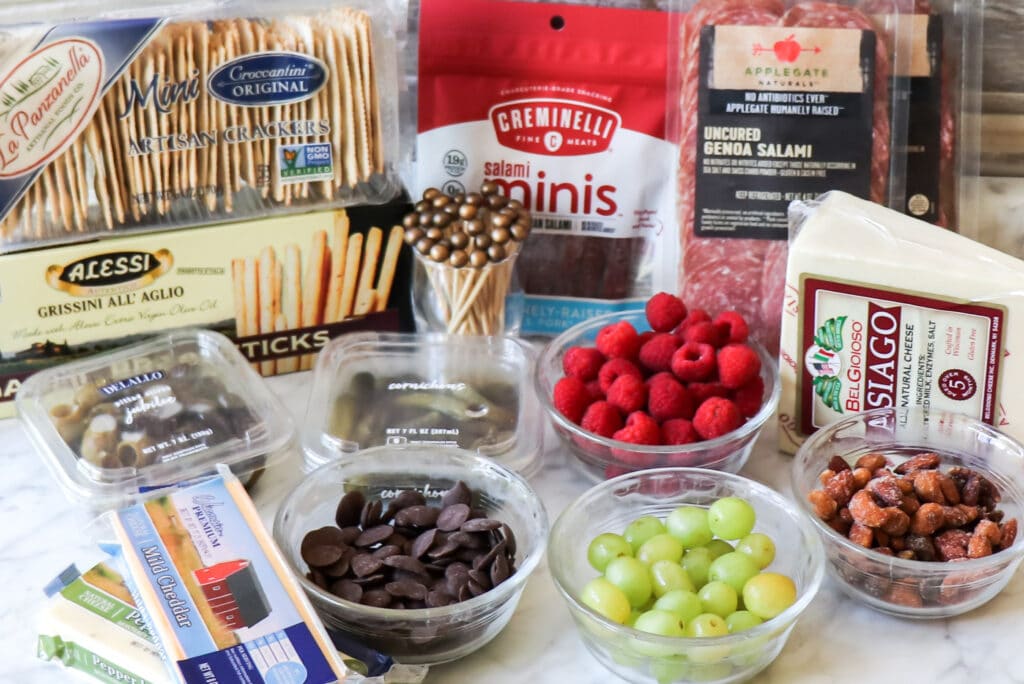
Part of the fun of making charcuterie cups is choosing a variety of flavors, colors, and textures. You don’t need to use the exact ingredients I used in mine. Choose a few favorites from each category, or mix and match them based on what your guests enjoy.
- Meats: Salami, prosciutto, pepperoni, or other cured meats.
- Cheeses: Cubed or sliced cheddar, gouda, brie, mozzarella, or another favorite cheese.
- Fresh fruit: Grapes, strawberries, blueberries, raspberries, or apple slices.
- Dried fruit: Apricots, cranberries, cherries, or dates.
- Crunchy additions: Crackers, breadsticks, pretzels, or nuts.
- Something salty: Olives, pickles, or cornichons.
- Something sweet: Chocolate pieces, chocolate-covered nuts, or another small treat.
Displaying your individual charcuterie cups
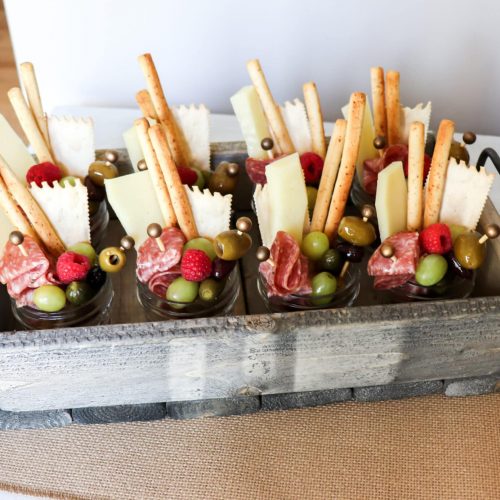
One of the best things about individual charcuterie cups is that you can display them in so many different ways. Arrange them on trays in different areas of your party so guests can easily pick one up while they mingle.
My favorite way to serve them is on a traditional charcuterie board. I love how the individual jars give everyone their own serving while the wooden board keeps the look and feel of a classic charcuterie spread. For an extra decorative touch, you can add fresh herbs, greenery, or other seasonal accents around the jars to dress up the display for the occasion.
Common Questions About Charcuterie Cups
How Far in Advance Can You Make Charcuterie Cups?
You can make charcuterie cups ahead of time, but for the freshest results, I recommend assembling them the day you plan to serve them. You can also save time by cutting the cheese, preparing the meat, washing the fruit, and assembling the skewers ahead of time. Keep everything refrigerated in separate airtight containers until you’re ready to assemble the cups.
If you assemble the cups in advance, cover and refrigerate them until serving time. Wait to add crackers, breadsticks, and other crunchy ingredients until closer to serving so they don’t become soft.
What Size Cups Are Best for Charcuterie Cups?
I used 4-ounce jars for my individual charcuterie cups, but there really isn’t a right or wrong size. Think about how much food you want in each cup and what else you plan to serve. A smaller jar works well when you have plenty of other appetizers or are serving a full meal, while a larger cup gives you more room if you want the charcuterie to be a bigger part of the menu.
Whatever size you choose, look for a cup or jar that guests can easily hold while they mingle.
What Should You Avoid Putting in Charcuterie Cups?
Avoid ingredients that are overly wet, messy, or difficult to eat from a small container. Wet ingredients can also make crackers and breadsticks soggy. Bite-sized foods that guests can easily pick up with their fingers or a small skewer work best.

Charcuterie Cups for Any Occasion
Have fun creating your individual charcuterie cups and making them your own. Choose your favorite meats, cheeses, fruits, and snacks, or change up the ingredients to fit the occasion. With so many possibilities, it’s easy to customize them for almost any gathering.
These charcuterie cups would be perfect for an Outdoor Party, a Mother’s Day brunch, or even a Father’s Day celebration. If you’re planning a special gathering, my Mother’s Day Table Décor Ideas and Father’s Day Table Decorations have plenty of inspiration for creating a beautiful table to go along with them.
And if you love the idea of individual servings, take a look at my DIY Individual Charcuterie Box for another fun way to serve charcuterie.
xoxo,
Molly
Individual Charcuterie Cups
Equipment
- 8-10 miniature jars or paper cups
- toothpicks or decorative skewers
Ingredients
- nuts
- chocolate bites
- cheese sticks
- salami, pepperoni, or any other cured meat
- meat sticks
- olives
- miniature pickles
- fruit, such as grapes, raspberries, blueberries, or blackberries
- crackers
- cheese block, cut into small strips
- anything you would like to add to your jarcuterie cups
Instructions
- Add nuts and chocolate pieces to the bottom of jars.
- Next, layer bite-sized pieces of cheese.
- Add salami and cured meat to skewers.
- Add the olives and pickles to the skewers, alternating each.
- Layer the tallest items in the back of the jar, such as crackers, cheese strips, and meat sticks.
- Place olives, pickles, and meat skewers in jars.
- Top with a few pieces of fruit.
Notes
 Grandma’s Chess Pie Recipe
This is a wonderful idea.
Neat idea and just the right serving size.
This is such a cute idea. I love the idea of everyone grabbing their own little jar and not touching “all of the things”. Super cute way to display.
This is such a cute idea. I love the idea of everyone grabbing their own little jar and not touching “all of the things”. Super cute way to display.
These are adorable!! These look perfect for Thanksgiving!
Very cute! I’ve seen these at weddings before and think it’s a fun and easy idea!
What a cute party idea! I love Charcuterie boards but with the way life is going now I don’t want everyone’s hands on my food! This is a cute way to keep hands out but still enjoy the charcuterie!
Oh my gosh, I just love this for so many reasons. First of all, I love charcuterie boards, but I feel like a pig always reaching over and grabbing what I want. This is a perfect size, and it makes it so easy to handle. Thank you for this.
This is such an amazing idea! These will be perfect for our next girls’ night.
What a great idea!! I will be making these at our next get together with our friends for sure!! Thanks for the idea!
I love the idea of jarcuterie! What a gret way to display appetizers. This idea would be great for desserts too!
This is a wonderful idea and I think this would be perfect for my children.
Had these for our super bowl get together yesterday…they were fun to make and a huge hit with everyone! Perfect individual appetizers.
This is absolutely adorable! I love the individual serving size and the pretty presentation. I’m definitely going to make this for the baby showers I’m hosting this summer!
Was just trying to decide what to fix for a small gathering…thank you for this idea. Love the way it is fixed…fun and very impressive looking! Happy New Year!